How to Install Sod
Benefits of Sod Installation and Steps Involved.
Kesh
1/6/20251 min read
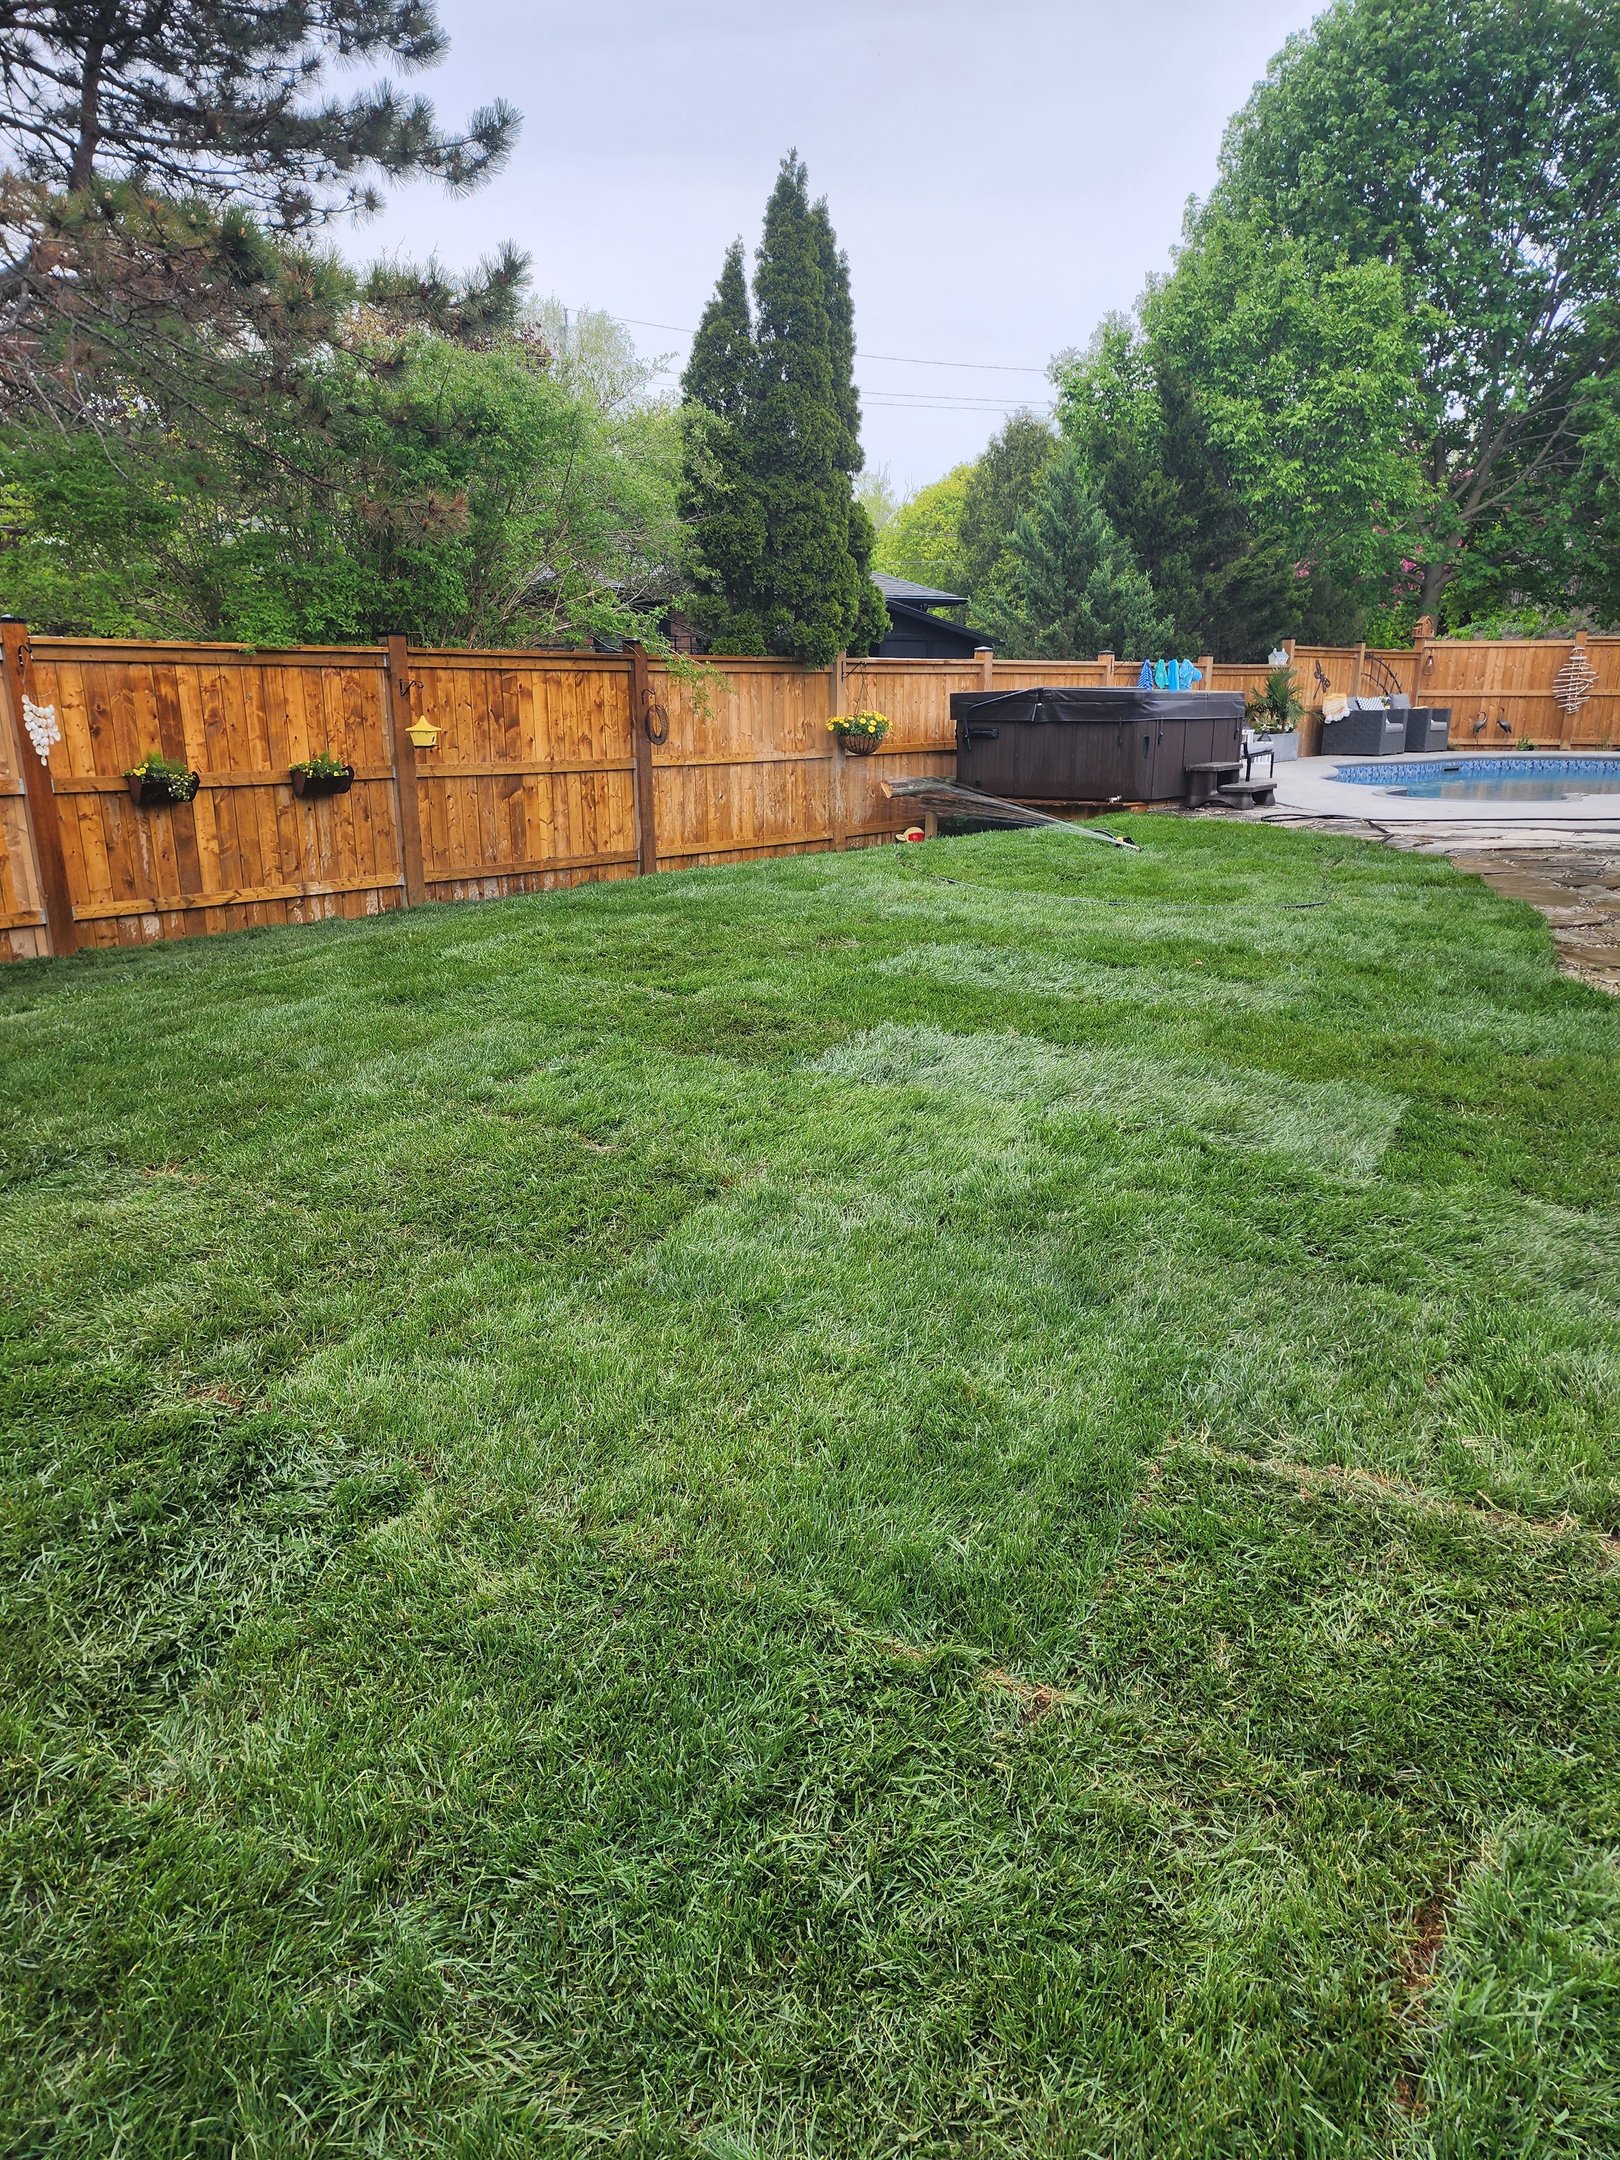
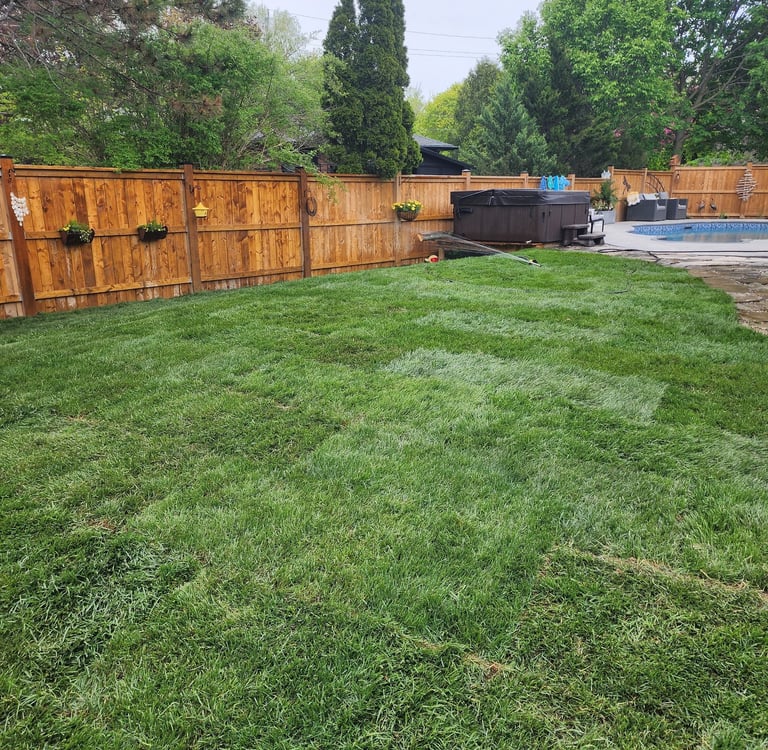
Sod installation provides an instant, green lawn, making it an ideal choice for homeowners and businesses looking to enhance curb appeal quickly. It reduces soil erosion, suppresses weed growth, and improves air quality by filtering dust and pollutants. Additionally, sod establishes faster than traditional grass seed, requiring less watering and maintenance during the initial growth phase. It also provides a durable surface, perfect for immediate use in residential yards, parks, or commercial spaces.
Steps Involved in Sod Installation:
Soil Preparation: Remove debris, weeds, and old grass, then level the area, adding new soil and amend the soil with nutrients if necessary.
Measuring and Ordering: Measure the area accurately and order quality sod to match the site.
Grading: Grade the soil to ensure proper drainage and a smooth surface.
Laying the Sod: Lay sod in staggered rows, starting along a straight edge, ensuring tight seams between rolls.
Trimming and Fitting: Trim edges and corners to fit irregular areas or borders.
Rolling: Use a lawn roller to press the sod into the soil, removing air pockets and ensuring good soil contact.
Watering: Water the sod immediately and continue daily for the first two weeks to help roots establish.
Maintenance: Mow and fertilize once the sod has firmly rooted into the soil.
Contact Us
Service Area: Kitchener-Waterloo, Cambridge, Paris, Brantford, Hamilton and Surrounding Area
Opening Hours
Request A Quote
Monday to Friday 8 AM to 5 PM
Saturday 9 AM to 4 PM
Sunday Closed
© 2024 BluSirkle Landscaping. All rights reserved.